Thinning vs Blending Shears for Barbers: Which Do You Need?
Your hands are your most valuable asset, and using the right tool for the job isn't just about getting a better result; it's about protecting your career. Forcing a shear to do something it wasn’t designed for creates unnecessary strain on your hand, wrist, and shoulder. This is especially true when it comes to texturizing. The choice in the thinning shears vs blending shears for barbers debate, for instance, isn't just about the haircut's finish. It's also about ergonomics and efficiency. Using a blending shear for heavy bulk removal is exhausting, just as using a thinning shear for fine-tuning a fade can be risky. Let’s explore how choosing the correct tool protects your body while perfecting your craft.
Key Takeaways
- The number of teeth dictates the result: Thinning shears have many teeth designed to remove significant weight from thick hair. Blending shears have fewer, wider-spaced teeth, making them your go-to for softening lines and creating seamless transitions.
- Choose your shear based on the desired finish: Use thinning shears when your goal is to debulk heavy hair or create visible, piecey texture. Reach for blending shears when you need to refine a cut, erase clipper lines, or polish the final look for a soft, flawless finish.
- Work with caution and respect the hair type: Always use a light hand to avoid creating holes, and remember you can always cut more but can't add hair back. Be especially careful with fine hair and avoid using texturizing shears on curly hair to prevent frizz and disrupting the natural curl pattern.
Thinning vs. Blending Shears: What's the Real Difference?
If you’ve ever stood in front of your station and wondered whether to grab your thinning or blending shears, you’re not alone. They look similar, and the terms are often used interchangeably, which creates a lot of confusion. But here’s the simple truth: they are designed for different jobs. The real difference comes down to the number of teeth on the blade and what you want to achieve with the haircut. Understanding this distinction is the first step to making sure you’re always picking the right tool for the look you’re creating, whether it’s removing heavy bulk or perfecting a seamless fade.
What Defines a Thinning Shear?
Think of thinning shears as your workhorse for weight removal. These shears are designed with one primary goal: to take out bulk from thick, dense hair. They typically have a higher number of teeth, sometimes 40 or more, that are positioned closely together. This design allows the shear to cut a larger percentage of the hair with each snip, effectively thinning the section without leaving noticeable cut marks. They are perfect for creating softness and airiness in a heavy haircut or for texturizing ends to reduce bluntness. When you need to lighten a client’s hair without sacrificing length, the thinning shear is your go-to tool.
What Defines a Blending Shear?
Blending shears, which are also called texturizing shears, are all about creating a soft, seamless finish. Unlike thinning shears, they have fewer teeth that are spaced farther apart. This means they remove much less hair with each cut, making them the perfect tool for detail work. Use them to erase any harsh lines left behind by your clippers or straight shears, especially when working on fades and tapers. They’re also fantastic for softening the perimeter of a haircut or adding subtle texture to fine hair without removing precious volume. You can master blending techniques to create a polished, flawless look that grows out beautifully.
Why the Number of Teeth Changes Everything
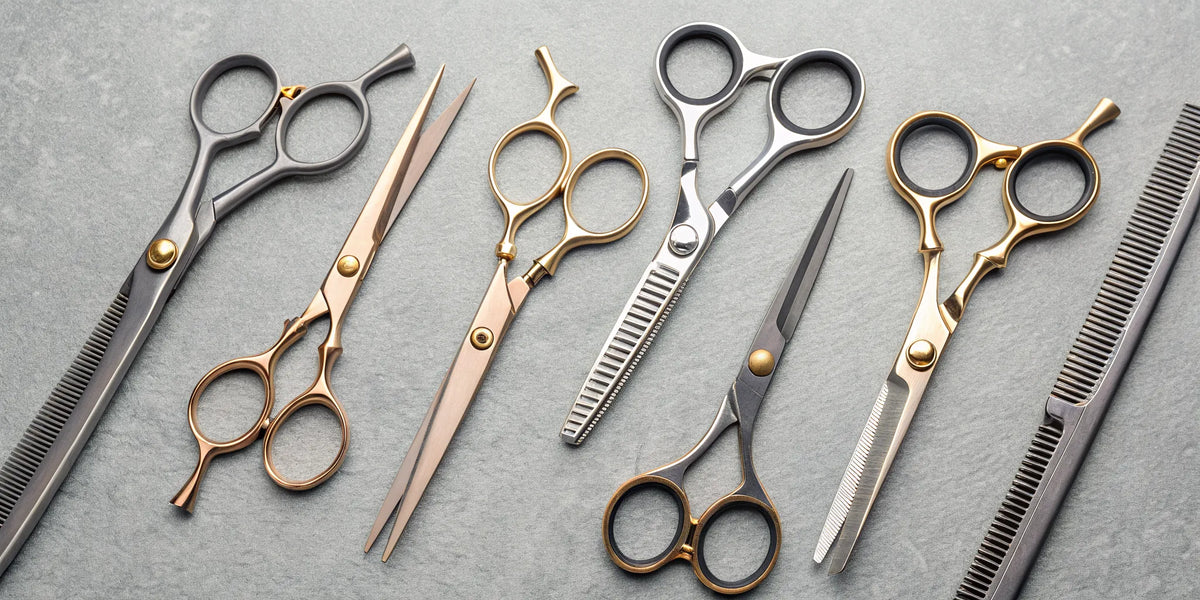
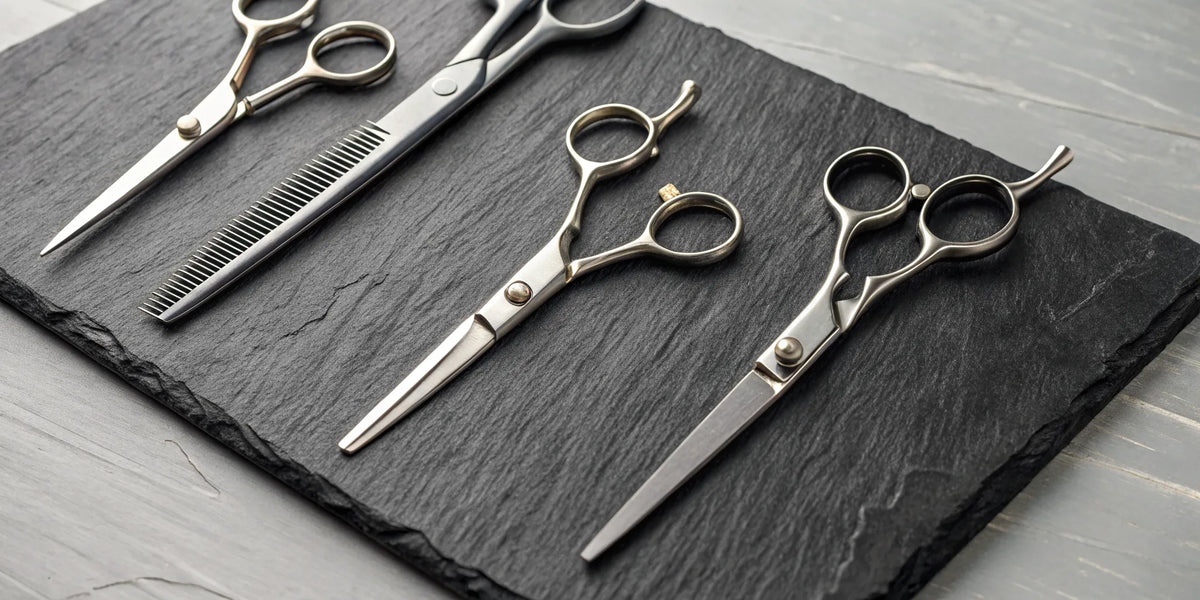
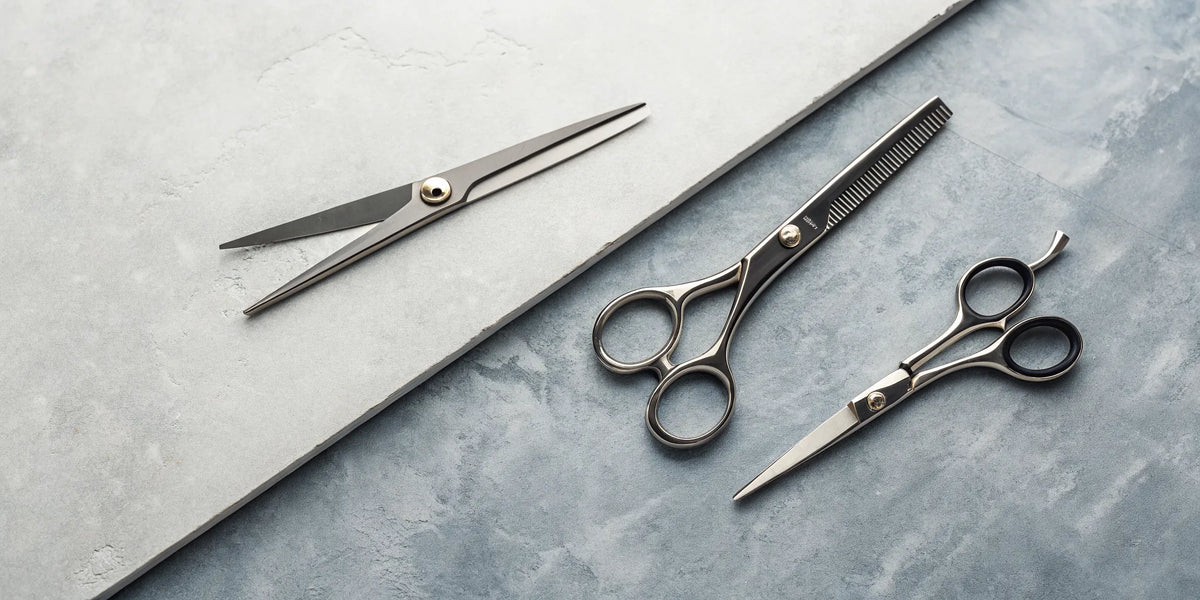
When you place a thinning shear and a blending shear side by side, the most obvious difference is the number of teeth. This isn't just a cosmetic detail; it's the key to understanding how each tool will perform and what kind of result it will create. The tooth count directly dictates how much hair is cut and how much is left behind, fundamentally shaping the texture and weight of the final style.
Think of it this way: more teeth create more individual cuts, which results in a finer, softer removal of hair. Fewer teeth create fewer, but more significant, cuts, leading to a more noticeable, piecey texture. Understanding this simple principle is the first step toward mastering texturizing techniques. It allows you to move beyond just grabbing "the thinning scissors" and instead select the perfect tool for the specific job at hand, whether you're removing heavy bulk or detailing a seamless fade. This intentional choice not only gives you greater creative control but also makes your work more efficient.
Thinning Shears: More Teeth for Removing Weight
Thinning shears are your go-to tool for taking out weight without taking away length. These shears typically have a high tooth count, sometimes 40 or more, packed closely together on one blade. Their main purpose is to thin out dense, bulky hair in a soft, diffused way. Because there are so many teeth, each snip removes a very small percentage of the hair within the section. This prevents you from creating holes or obvious lines in the haircut. Instead, you get a gentle, all-over reduction in volume that makes thick hair more manageable and helps it lay better. They are perfect for clients who feel their hair is too heavy but don't want to see any visible texture or layers.
Blending Shears: Fewer Teeth for a Softer Finish
Blending shears, also known as texturizing shears, have fewer teeth that are spaced wider apart. The tooth count can vary, but it's significantly lower than a traditional thinning shear. This design is what makes them perfect for softening harsh lines and seamlessly blending different sections of a haircut. For barbers, they are essential for erasing the transition line between clipper work and longer, scissor-cut lengths. Because fewer teeth are cutting the hair, they remove more hair per "notch," creating visible separation and texture. This is exactly what you want for breaking up blunt lines or adding movement to a style, but it also means you need to be precise with your technique to avoid taking out too much.
How Tooth Design Shapes the Final Look
Ultimately, the final look you create comes down to how the tooth design interacts with the hair. As a rule, the number of teeth on a shear directly changes how much hair is removed with each cut. Shears with more teeth provide a much finer, almost invisible thinning effect, while shears with fewer teeth create more defined, chunkier texture. Choosing the right one is about matching the tool to your goal. If you want to debulk a heavy head of hair without anyone knowing your secret, a high-tooth-count thinning shear is your best friend. If you need to add piecey texture to a bob or soften a fade line, a blending shear with fewer teeth will give you that control. Mastering this distinction is a game-changer for any stylist looking to refine their finishing work.
Technique, Purpose, and Results: The Core Differences
Understanding the fundamental differences between thinning and blending shears comes down to three things: how they cut, what you’re trying to accomplish, and the final look you want to achieve. While they might look similar at a glance, their performance and results are worlds apart. Choosing the right tool isn’t just about the haircut; it’s about working efficiently and creating a flawless result that keeps clients coming back. Using the correct shear for the job reduces strain on your hands and allows you to execute your vision with precision, which is key to a long and healthy career behind the chair.
Cutting Technique: Removing vs. Softening
The most significant difference in technique lies in how each shear interacts with the hair. Think of thinning shears as tools for strategic removal. Because their teeth are spaced closer together, they cut a higher percentage of strands with each closure, effectively taking out weight and bulk from a section of hair. This action is more direct and creates a noticeable change in density.
Blending shears, on the other hand, are designed for subtlety. With wider gaps between their teeth, they remove far less hair with each snip. Their cutting technique is less about removal and more about softening. They gently diffuse the hair, allowing you to create a seamless transition between different lengths or sections without leaving hard lines or altering the overall density too drastically.
Intended Purpose: Bulk Removal vs. Seamless Blends
Your goal for the haircut will always determine which tool you should reach for. The primary purpose of thinning shears is to manage thick, heavy hair. When a client has a lot of density that makes their hair difficult to style, thinning shears are your go-to for debulking and adding texture. Barbers often use thinning shears to reduce weight, making the hair lighter and more manageable without sacrificing too much length.
Blending shears serve a different purpose entirely: refinement. Their job is to create a smooth, invisible connection between different parts of the haircut. They excel at erasing demarcation lines left by clippers, softening the perimeter of a cut, or blending layers together. Instead of removing bulk, you’re using them to polish your work and ensure the final style looks cohesive and perfectly grown-in from day one.
The Final Finish: Texturizing vs. Polishing
Finally, consider the finished look you want to create. Thinning shears are built to produce visible texture. By removing small pieces of hair, they create separation and movement, which is perfect for choppy, layered styles where you want the texture to be a key feature of the look. The result is intentionally imperfect and adds a lot of visual interest.
Blending shears are all about achieving a polished, flawless finish. They are the perfect tool to soften harsh lines and remove any unwanted weight without creating obvious texture. Think of them as an eraser for your haircut. They smooth out scissor-over-comb work, soften cowlicks, and ensure that every strand falls perfectly into place. The final result is soft, clean, and impeccably blended.
Match the Shear to the Hair Type and Style
Choosing between thinning and blending shears isn't just about personal preference; it's about making a strategic decision based on your client’s hair and the look you want to create. The right texturizing shear in your hands can transform a good haircut into a great one, adding movement, softness, and a flawless finish. But using the wrong one can create unwanted problems, like frizz or holes in the hair. Understanding when and why to reach for each tool is a skill that separates the good stylists from the truly exceptional ones. Let's get into the specifics so you can feel confident in your choice every single time.
When to Use Thinning Shears
Think of thinning shears as your go-to for serious weight removal and texture creation. When a client has incredibly thick, heavy hair that needs to be debulked, these are the shears you’ll want. They help you remove a significant amount of hair without sacrificing length, creating a lighter, more manageable style. Thinning shears are also fantastic for adding texture and creating "internal layers" that give a haircut more character and movement, especially in shorter, piecey styles or bobs. You can use them to soften blunt lines and add a lived-in feel that looks effortless. Mastering these shears allows you to truly sculpt the hair from the inside out.
When to Use Blending Shears
Blending shears are all about softness and seamless transitions. With fewer teeth, they remove less hair, making them perfect for refining and polishing your work. They are your best friend when you need to erase scissor or clipper lines, especially in fades and tapers. Got a tricky cowlick or a stubborn growth pattern? Blending shears can help you soften those spots without creating a hole. Many stylists find them easier to learn with, particularly for the scissor-over-comb technique, because their forgiving nature gives you more control. They are the ultimate finishing tool for achieving that perfectly blurred, polished look that keeps clients coming back.
Hair Types to Approach with Caution
While texturizing shears are incredibly useful, they aren't a one-size-fits-all solution. You need to be especially careful with certain hair types. For curly and coily hair, it's often best to avoid thinning or blending shears altogether. Using them can disrupt the natural curl pattern, break up curl clumps, and lead to a halo of frizz. Instead, consider point cutting or slide cutting to remove weight. Similarly, be cautious with very fine hair. Removing too much bulk can make the hair look sparse and thin at the ends. Always have a clear conversation with your client. If they're hesitant, explain what you plan to do and what difference it will make for their final style.
Common Mistakes to Avoid with Texturizing Shears
Texturizing shears are incredible tools, but they demand respect and precision. Using them correctly can create beautifully soft, blended styles. Using them incorrectly, however, can lead to some less-than-desirable outcomes. Knowing what not to do is just as important as mastering the right techniques. Let’s walk through a few common missteps so you can keep your clients’ hair healthy and your cuts looking flawless.
Creating Holes by Over-Texturizing
One of the biggest fears when using texturizing shears is accidentally creating holes or visible gaps in the hair. This happens when you remove too much weight from one area, and it’s a mistake that can take months, or even years, to fully grow out. The key is to always work with intention and adopt a “less is more” mindset. Make your cuts deliberately and check your work as you go. Remember, you can always take more hair away, but you can’t put it back.
Choosing the Wrong Tool for the Job
Many stylists use the terms “thinning” and “blending” shears interchangeably, but this can cause confusion and lead to mistakes. As we’ve covered, their purposes are distinct. Using a thinning shear with many teeth when you only wanted to soften a line can remove too much bulk. This is why many barbers prefer the term “blending shears,” as it better describes the goal of creating a seamless transition. Understanding the full range of hair shears and their specific jobs helps you select the right tool for your client’s hair and desired style every single time.
Mishandling Curly and Coily Textures
This is a big one: texturizing shears are generally not the right tool for curly or coily hair. Using them on these hair types can disrupt the natural curl pattern, leading to frizz and an unmanageable texture. The teeth of the shear can shred the delicate cuticle of a curl, creating damage that ruins its definition. For clients with textured hair, it’s much safer to rely on other techniques, like point cutting or slide cutting with your straight-blade shears, to remove weight and add shape while respecting the integrity of the curl.
Forgetting About Proper Tool Care
Your shears are an investment, and they need regular care to perform their best. A dull or poorly maintained texturizing shear won’t cut cleanly. Instead, it can bend and pull the hair, causing damage and split ends. It also forces you to use more pressure, leading to hand fatigue. While an ergonomic design helps reduce strain, you still need to keep your tools in top shape. Make it a habit to clean, dry, and oil your shears daily. You can even find great tutorials on proper shear maintenance to ensure your tools last and deliver clean results.
A Quick Look: Pros and Cons
Deciding between thinning and blending shears isn't about picking a winner. It's about knowing which tool to grab for a specific task. Both have a permanent place in your toolkit, and understanding their strengths and weaknesses is what separates a good haircut from a great one. Think of it like this: you wouldn't use the same brush for every painting technique, right? The same principle applies here. Each shear is designed for a different outcome, and mastering both gives you the versatility to handle any hair type or style that sits in your chair. This adaptability is huge for your reputation and your bottom line. When you can confidently tackle any challenge, you build trust with your clients and open yourself up to a wider range of services. It's about building a complete arsenal of skills, not just collecting tools. Having the right shear for the job also protects your body, as you won't be forcing a tool to do something it wasn't designed for, which reduces strain on your hands and wrist. Let's break down the pros and cons of each so you can feel confident in your choice behind the chair.
The Case for Thinning Shears
Thinning shears are your heavy lifters. When a client comes in with incredibly thick hair and wants to lose some serious weight, this is the tool you’ll reach for. Their design allows you to remove a significant amount of bulk quickly, creating movement and a lighter feel throughout the haircut. They are fantastic for texturizing and preventing that dreaded "helmet" look in dense hair. The main drawback is that their power requires precision. If you get overzealous or use them incorrectly, you can easily create holes or uneven patches that are difficult to fix. Using them the wrong way can also damage hair, so it’s crucial to approach them with a solid technique and a clear plan.
The Case for Blending Shears
Blending shears are all about refinement and creating a seamless finish. These are your go-to for detail work, like erasing any harsh lines left by your clippers during a fade or taper. They are also perfect for scissor-over-comb techniques, allowing you to soften the shape without removing too much hair. Because they have fewer teeth and a wider spacing, they are much more forgiving than thinning shears, which makes them a great tool for beginners to build confidence with. You can use them to soften harsh lines around tricky areas like cowlicks for a polished look. Their main limitation is that they aren't built for major bulk removal; trying to thin out a whole head of hair with them would be inefficient.
How to Choose the Right Shear for You
Deciding between thinning and blending shears isn't just about adding another tool to your kit; it's about making a strategic choice that impacts your work, your clients' results, and your own physical well-being. The right shear feels like an extension of your hand, allowing you to execute your vision flawlessly. The wrong one can lead to frustration, uneven cuts, and even hand pain that cuts a career short.
So, how do you make the right call? It comes down to a few key factors: the hair you’re working with, the look you want to create, your personal technique, and a commitment to your long-term health. Think of it as a checklist for every client and every cut. By walking through these steps, you can confidently select the perfect tool for the job, ensuring beautiful results and a long, comfortable career behind the chair. Let's break down exactly what you should consider.
Start with Your Client's Hair
Before you pick up any tool, the first step is always a thorough consultation and hair analysis. The texture, density, and condition of your client's hair will immediately point you toward the right shear. If you're working with extremely thick, heavy hair that needs significant weight removal, a thinning shear is your go-to. These shears are designed to remove bulk efficiently, add texture, and create internal layers that give a dense style more movement and life. On the other hand, for hair that is medium to fine, a blending shear is often the safer and more effective choice to avoid creating holes or making the hair look sparse.
Align the Tool with Your Desired Finish
What is the end goal for this haircut? Are you aiming for a soft, seamless transition or a bold, piecey texture? Your answer will determine which shear you should reach for. Blending shears are your best friend for creating a polished, lived-in look. They excel at softening harsh lines left by your straight-blade shears, especially around the perimeter or within layers, resulting in a cut that grows out beautifully. In contrast, if your goal is to add visible texture, create separation, or achieve a more deconstructed style, a thinning shear will give you the aggressive texture you need to make the haircut pop.
Practice to Perfect Your Technique
A great shear is only as effective as the stylist using it. Both thinning and blending shears require a specific approach, and mastering the right technique is essential for getting predictable, consistent results. For example, using a scissor-over-comb method with blending shears is a fantastic way to blend out heavy lines and refine a fade. We post tons of tutorials on our YouTube channel to help you master these skills. Take the time to practice on a mannequin to see exactly how much hair each of your shears removes and how they behave with different cutting angles. This practice builds the muscle memory and confidence you need to work efficiently on your clients.
Prioritize Your Hand Health and Career Longevity
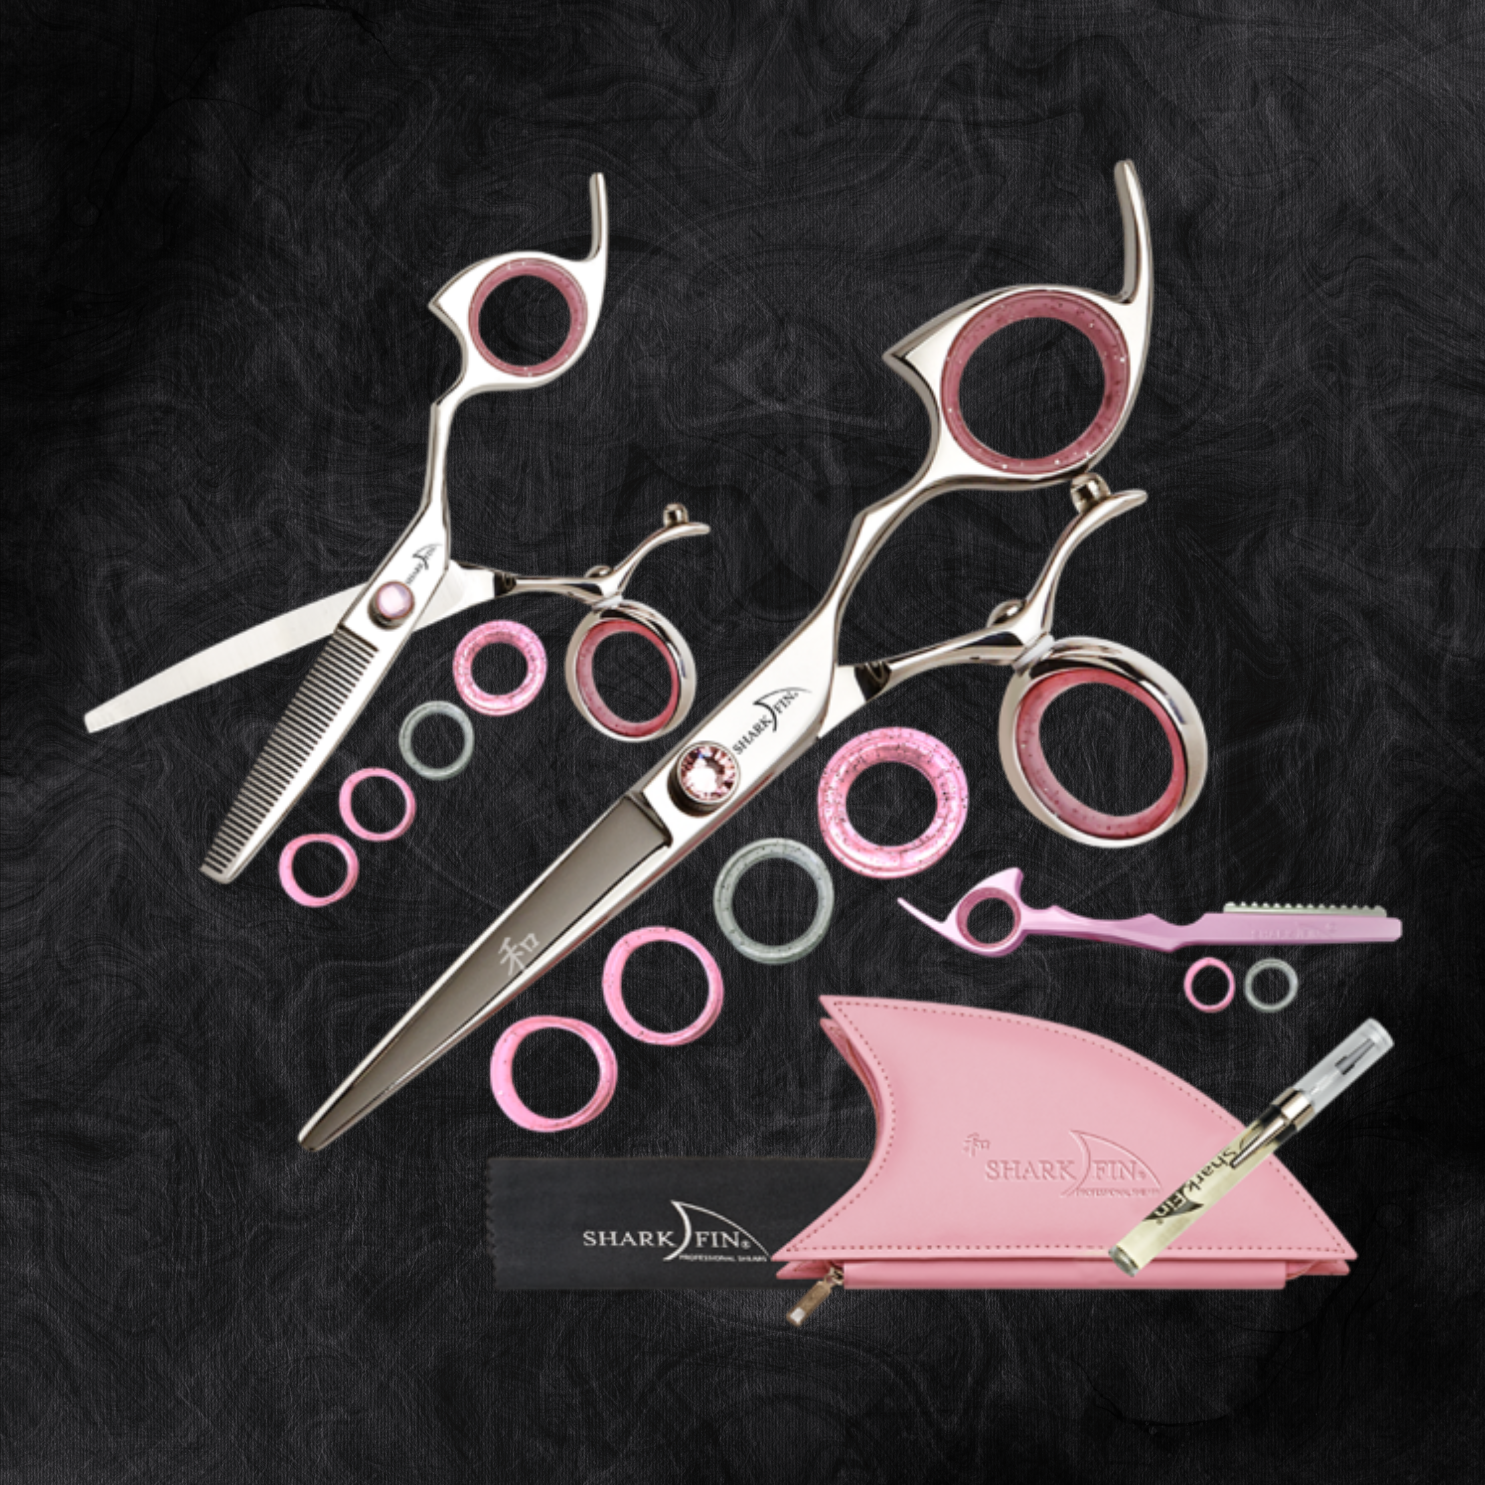
Your hands are your most valuable asset, and protecting them should be a top priority. The repetitive motions of cutting hair can lead to strain, fatigue, and serious conditions like carpal tunnel syndrome. Choosing an ergonomic shear isn't a luxury; it's a crucial investment in your career. Shears with an offset or swivel handle are designed to keep your wrist in a more neutral position, reducing strain and allowing you to work more comfortably all day long. When you choose a shear, pay close attention to how it feels in your hand. A well-designed tool will reduce fatigue and give you the control you need to do your best work for years to come.
Frequently Asked Questions
Can I just own one type of texturizing shear? You certainly could, but you would be limiting your creative potential and making your job harder. Using a thinning shear for a delicate blending job is like using a sledgehammer to hang a picture frame; it’s too aggressive. Likewise, trying to remove significant bulk with a blending shear is inefficient. Having both tools ensures you can choose the right one for the specific task, giving you more control, better results, and a more professional finish.
Which type of shear is better if I'm just starting to use them? If you're new to texturizing, I recommend getting comfortable with a blending shear first. Because they have fewer teeth and remove less hair with each cut, they are much more forgiving. This allows you to practice your technique, like scissor-over-comb, without the high-stakes risk of creating a hole. They help you build confidence while learning how to soften lines and refine shapes.
What's the most important thing to remember when using these shears on a client? The golden rule is that you can always take more hair away, but you can never put it back. The most common mistake is removing too much hair from one spot, which creates gaps that are difficult to fix. Always work with a clear plan and a "less is more" attitude. Make a few cuts, then stop and assess how the hair is falling before you continue. This deliberate approach prevents mistakes and ensures a beautiful, even result.
Why is it so bad to use thinning or blending shears on curly hair? Using texturizing shears on curly hair is a recipe for frizz. The teeth can shred the hair's cuticle and break up the natural curl clumps that give the hair its beautiful definition and shape. Instead of a controlled removal of weight, you end up with an undefined, frizzy texture that is difficult for your client to manage. It's much safer to use point cutting or slide cutting with your straight shears to shape curls.
Does the number of teeth really matter that much? Yes, the tooth count is everything. It’s the main feature that dictates how the shear will perform and what kind of result it will produce. More teeth spaced closely together will remove more weight with a soft, diffused finish, which is what thinning shears do. Fewer teeth spaced farther apart will create more visible texture and are perfect for softening lines, which is the job of a blending shear. Understanding this simple principle is key to choosing the right tool.